ABOVE GROUND POOL INSTALLATION
This series of
pictures will show what is involved in a typical installation of an above
ground swimming
pool. This demo is for reference only. Please refer to your installation manual
for installation instructions.
The process starts with the determination of
the location of the pool. Choose a large area, as flat and
level as possible. It should also be on dry, undisturbed earth - do not install
the pool on concrete, asphalt, tar paper, sand, gravel, peat moss, wood or
chemically treated soil. Sloped areas will need to be made level by
digging away high spots, not by filling low spots.
possible. It should also be on dry, undisturbed earth - do not install
the pool on concrete, asphalt, tar paper, sand, gravel, peat moss, wood or
chemically treated soil. Sloped areas will need to be made level by
digging away high spots, not by filling low spots.
Things to avoid - Do not locate your
pool near or on:
Overhanging
tree branches, wires, clotheslines, buried pipes and wires (contact your
gas, electric and telephone utilities to find buried pipes and wires before
you dig), hilly and uneven terrain, areas with poor drainage, grass, stones
and roots. (grass will rot under the pool liner, and stones and roots will
damage the pool liner) and areas recently treated with oil-based weed
killers, chemicals or fertilizers.
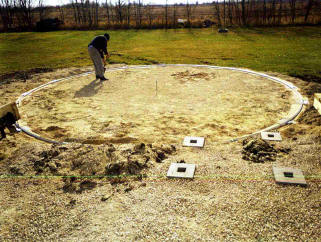
1. Preparing your pool base:
Now that you have determined where you want your pool,
you must prepare the ground base of the pool. For this you will need to
review your manual to determine the proper measurements to follow for the layout
of the pool that you have purchased. Once you have plotted out the area
required, you will need to remove all sod and plants from the area. Also
remove any sticks, stones and roots from the area. You will use a 2-by-4
to help level the pool foundation. Again, remove all the high spots and do not fill in low
areas.
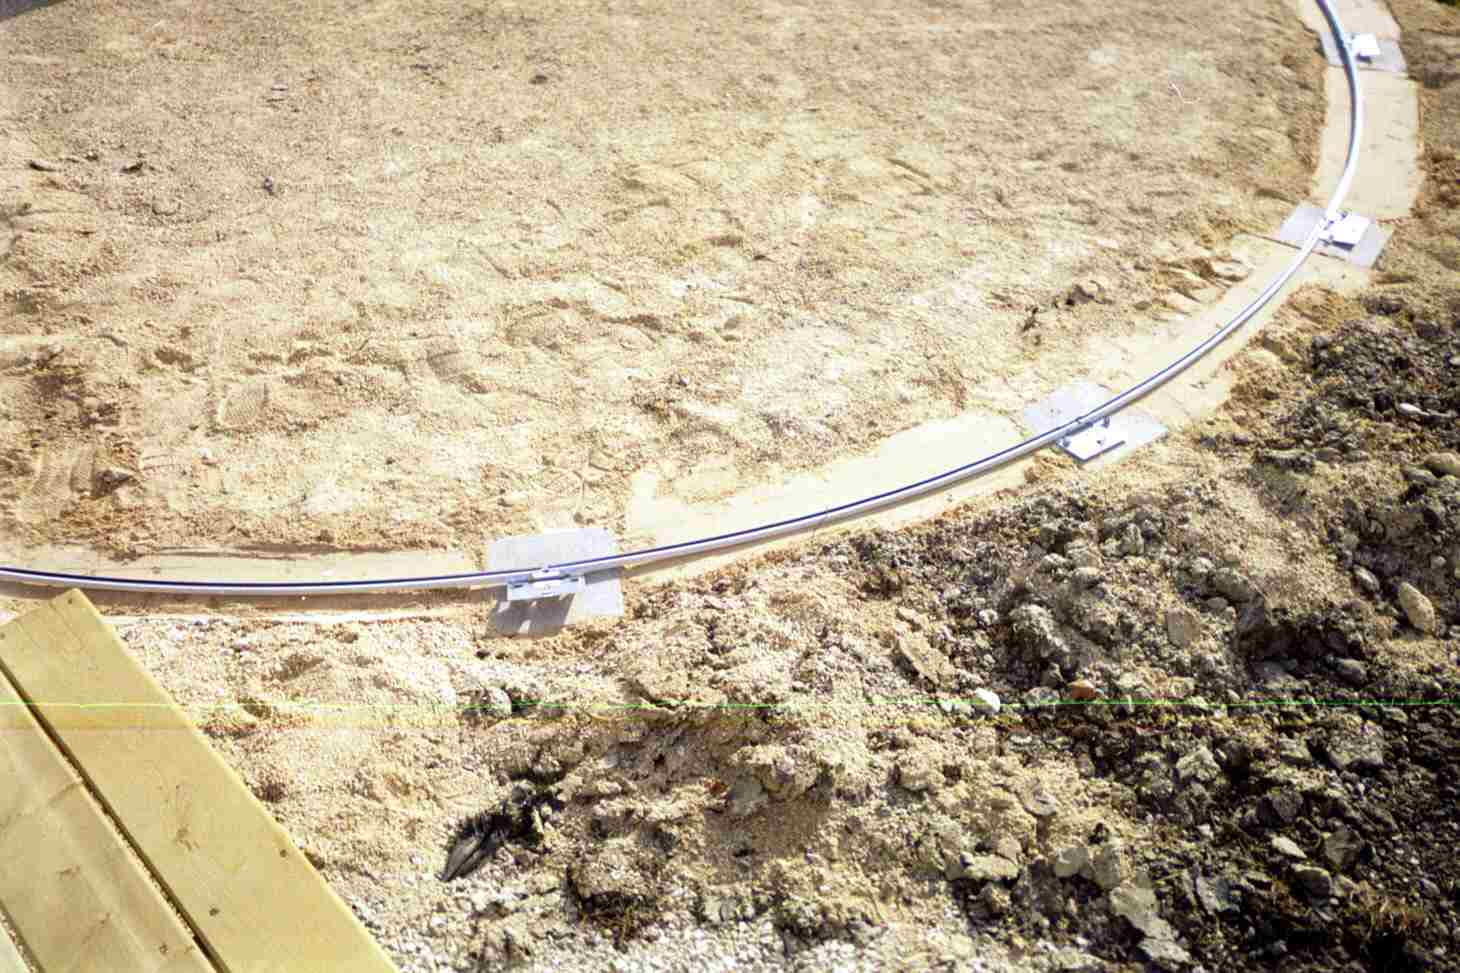
2. Laying the bottom rails.
Lay out the base plates and bottom rails on the round
ends. Place a base plate on each of the patio stones on the round ends of
your pool. Slide the curved bottom rails together with the base
plates.
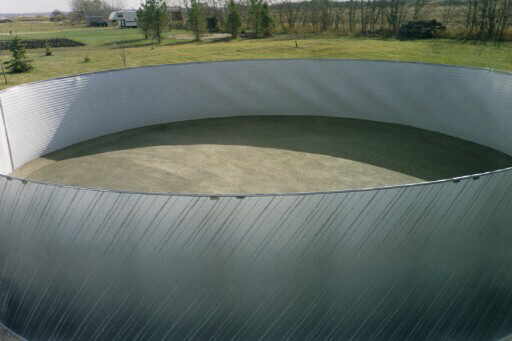
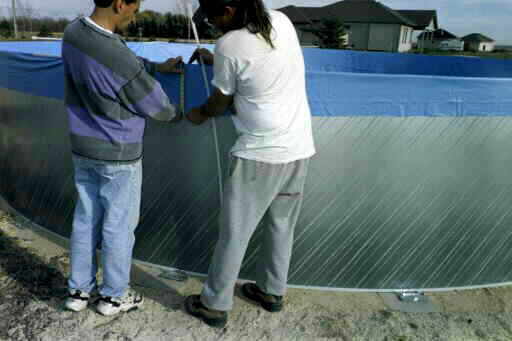
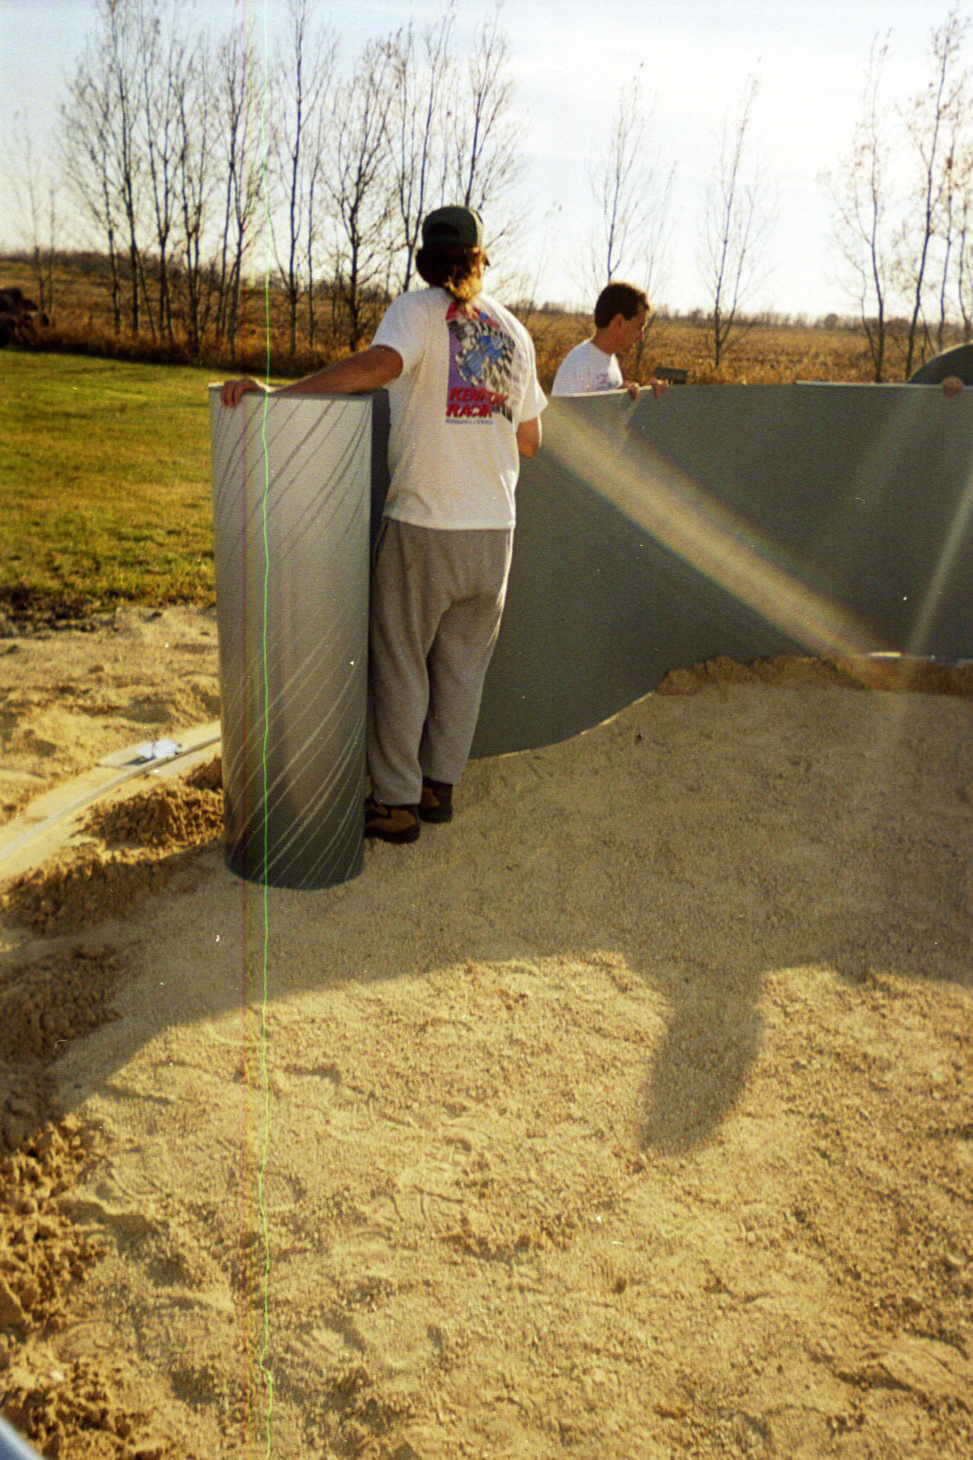
3. Assembling the Pool Wall & Liner
Set the pool wall in place. Unpack the
coiled pool wall and stand it on a piece of cardboard or plywood at the center
of the pool. Start uncoiling the wall, guiding the bottom edge into the
curved bottom rail
Join the ends of the pool wall. Line up the holes
in the two ends of the pool wall. Join the ends of the pool wall with a
bolt and nut through each hole. Place each bolt head towards the INSIDE of
the pool and each nut towards the OUTSIDE. Tighten each bolt and nut
securely. Cover the seam and bolt heads on the inside of the pool wall
completely with 2" duct tape. Make sure the pool is level and is the
correct size.
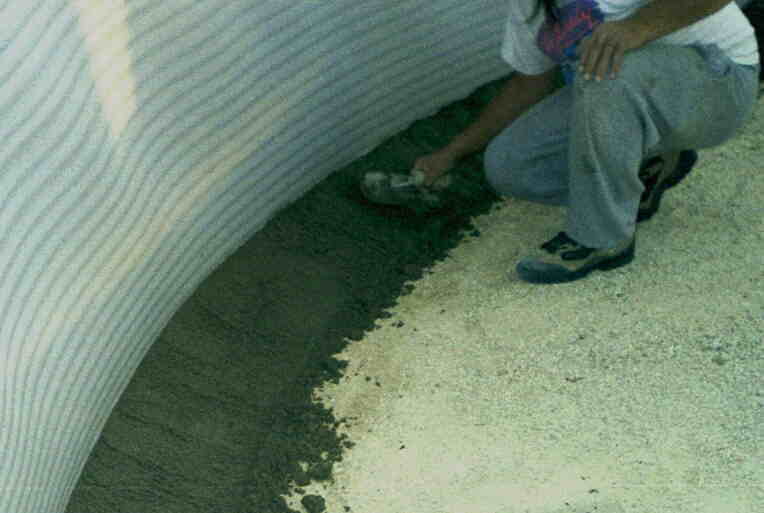
4. Preparing the pool bottom
Make a curved cove about 6" high and 8" wide
all around the bottom of the pool wall on the inside. Use brick sand or pool cove and pack it firmly into shape.
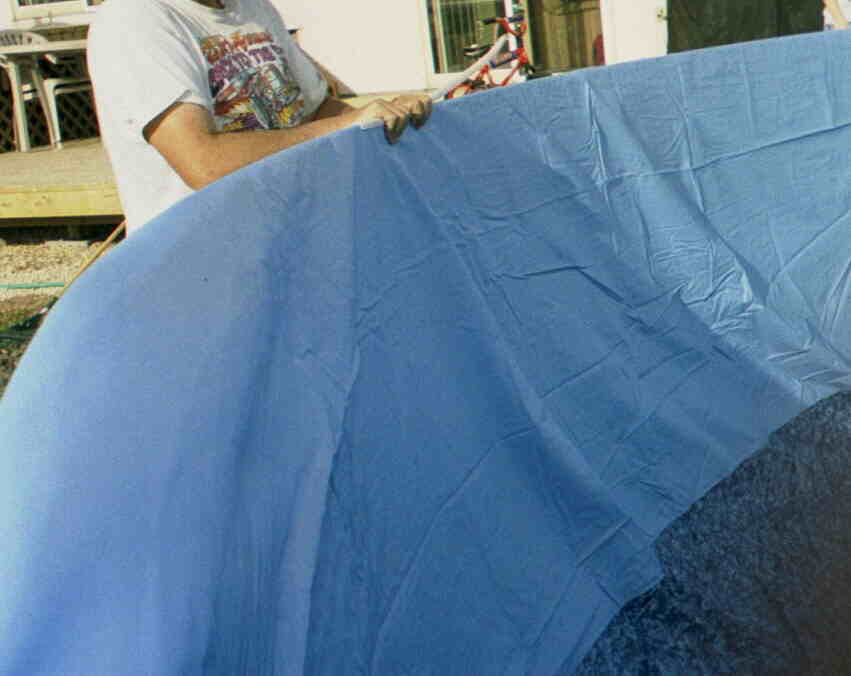
5. Installing the liner
Unpack and unfold the liner and spread it out in the sun
to warm it up. Inspect all the seams and surfaces for holes. Spread
the liner, smooth side down. The curved seam should be even with the top
of the cove. Smooth out all the wrinkles in the bottom. Fasten the
liner in place. Lift the sides of the liner and drape them over the top of
the pool wall. Fasten the liner to the top of the wall with plastic coping
making sure you have the same overhang all around.
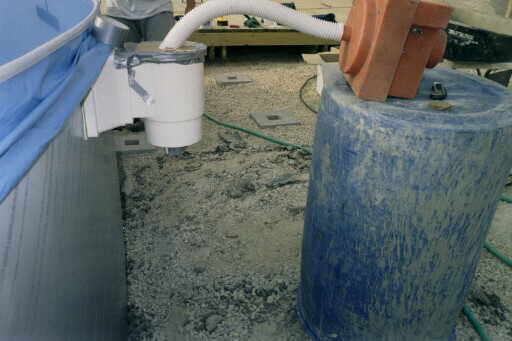
Work out the wrinkles in your wall as the vacuum is
sucking the air out from between the walls and the liner.
Start filling up the pool with water continuing to work
out the wrinkles. Remove the coping around the top edge of the wall one
piece at a time and adjust the liner. After all the wrinkles in the liner
are removed, trim any extra length of plastic coping so there is no
overlap. Roll up any excess liner hanging below the plastic coping and
tape it in place near the top of the pool wall.
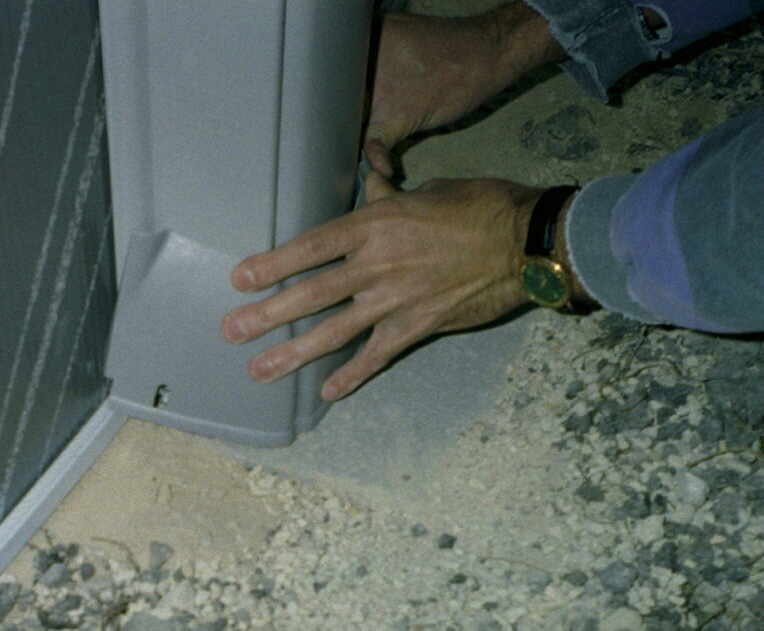
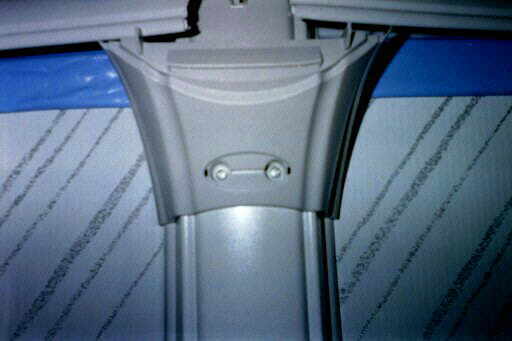
6. Installing the top rails and verticals
Install the vertical columns. Line up the bottom
of one vertical column with the two small tabs on one base plate. Slip the
foot cover onto the vertical column and slide down to the bottom so it hooks
onto each side of the column.
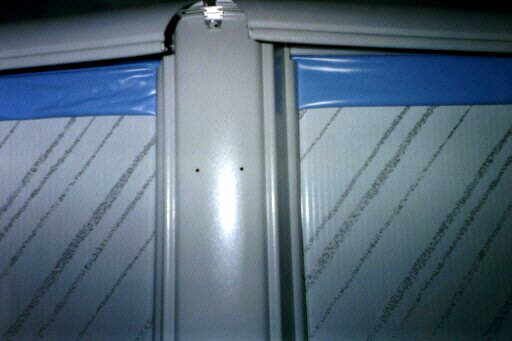
Hook a top plate over the top edge of the pool.
Place a rail with one end on top of the plate. Line up the holes and
insert screws. Repeat the last steps for the
number of columns you have. Fasten the top caps.
Continue filling up your pool with water and enjoy.
Return
to the Above Ground Page